

An ADU foundation is built in layers, and every layer has a job: compacted ground, a gravel base, a vapor barrier, a sand bed, steel rebar — then concrete, with the plumbing already roughed in and standing up through the slab before a single yard of concrete arrives. These photos are from a real detached-ADU build in an Orange County backyard. This is what the money in the “foundation” line item actually buys.
Most homeowners only ever see two versions of their ADU: the dirt before, and the finished home after. The foundation — the part that decides whether the building stays straight and dry for fifty years — disappears under concrete in a single morning. So here is the whole sequence, photographed on one of our own Orange County projects.
01Layout, forms and the plumbing you'll never see again

Before anything is poured, the unit is drawn on the ground at full size: wooden formwork defines the exact slab edges, and steel rebar is laid in a grid through the whole footprint. Look at the black pipes standing up inside the forms — that is the drain, waste and vent plumbing, roughed in and inspected before the pour. Every sink, shower and toilet in the finished ADU is already decided, positioned and connected at this stage. This is why we say a floor plan is really a plumbing plan: once the slab is down, moving a bathroom means cutting concrete.
02The layers nobody sees: gravel, vapor barrier, sand

This close-up shows the stack that separates a proper slab from a future moisture problem, reading from the bottom up: compacted base, a bed of crushed gravel, a plastic vapor barrier, then a layer of sand under the steel. The gravel drains water away from the slab; the vapor barrier stops ground moisture from migrating up through the concrete into flooring and drywall; the sand protects the barrier and helps the concrete cure evenly. None of it is visible in the finished home — all of it is why the finished home stays dry.
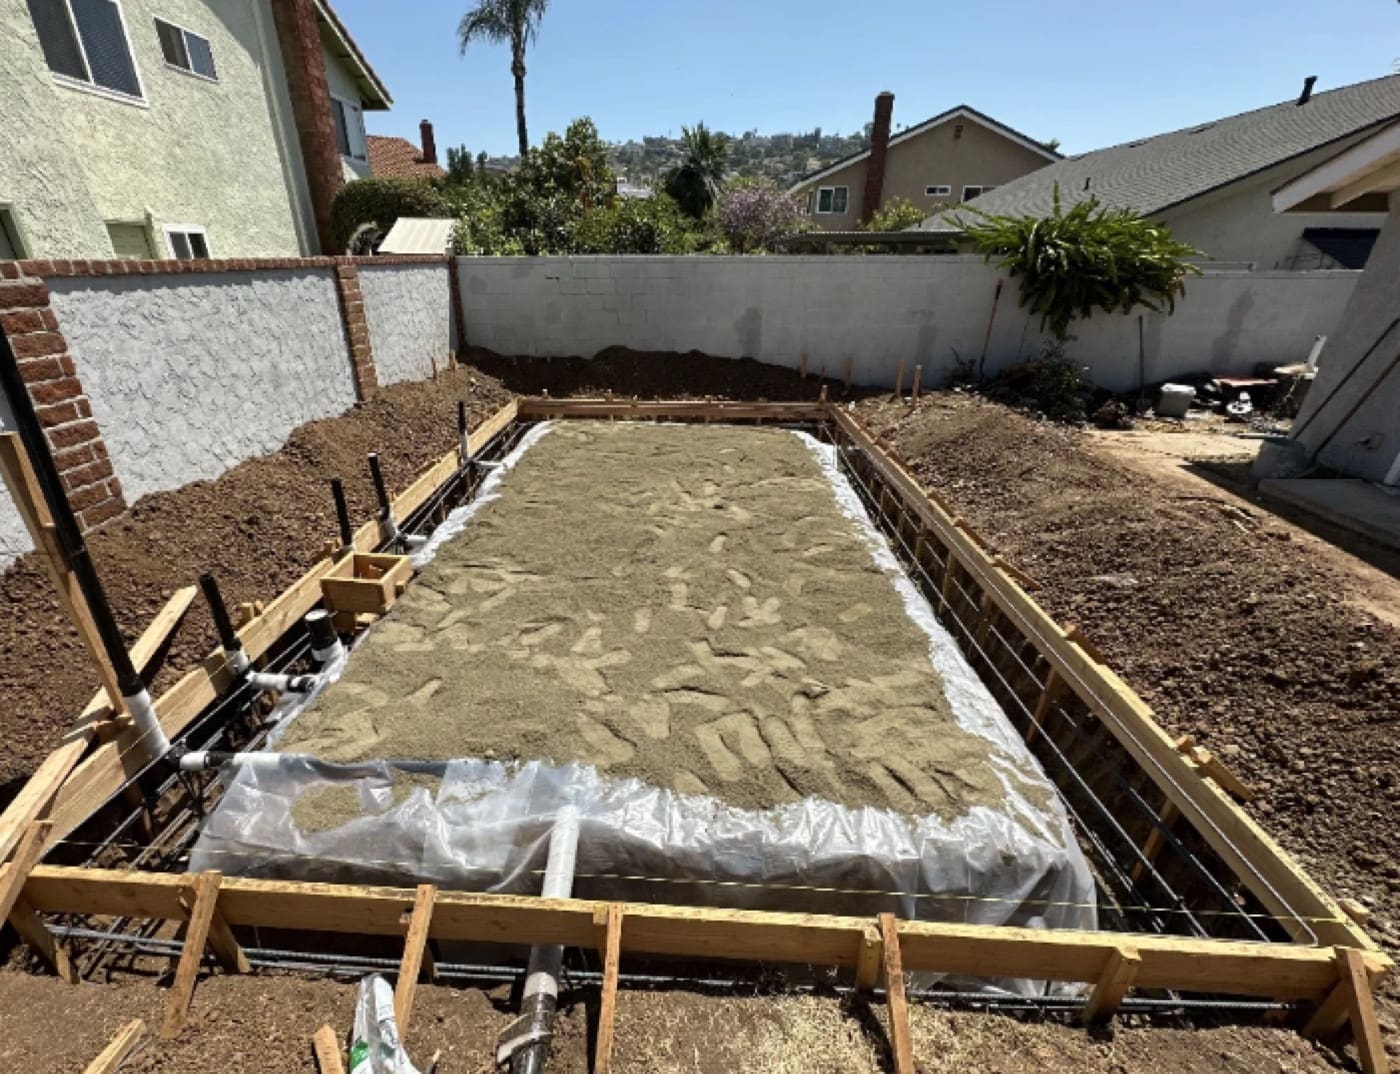
Here is the full footprint with the sand bed complete and the rebar grid tied around the perimeter, plumbing stubs capped and standing. At this point the project passes its pre-pour inspection against the California Building Standards Code: the city checks the forms, the steel, the barrier and the plumbing before giving concrete the green light.
03Pour day
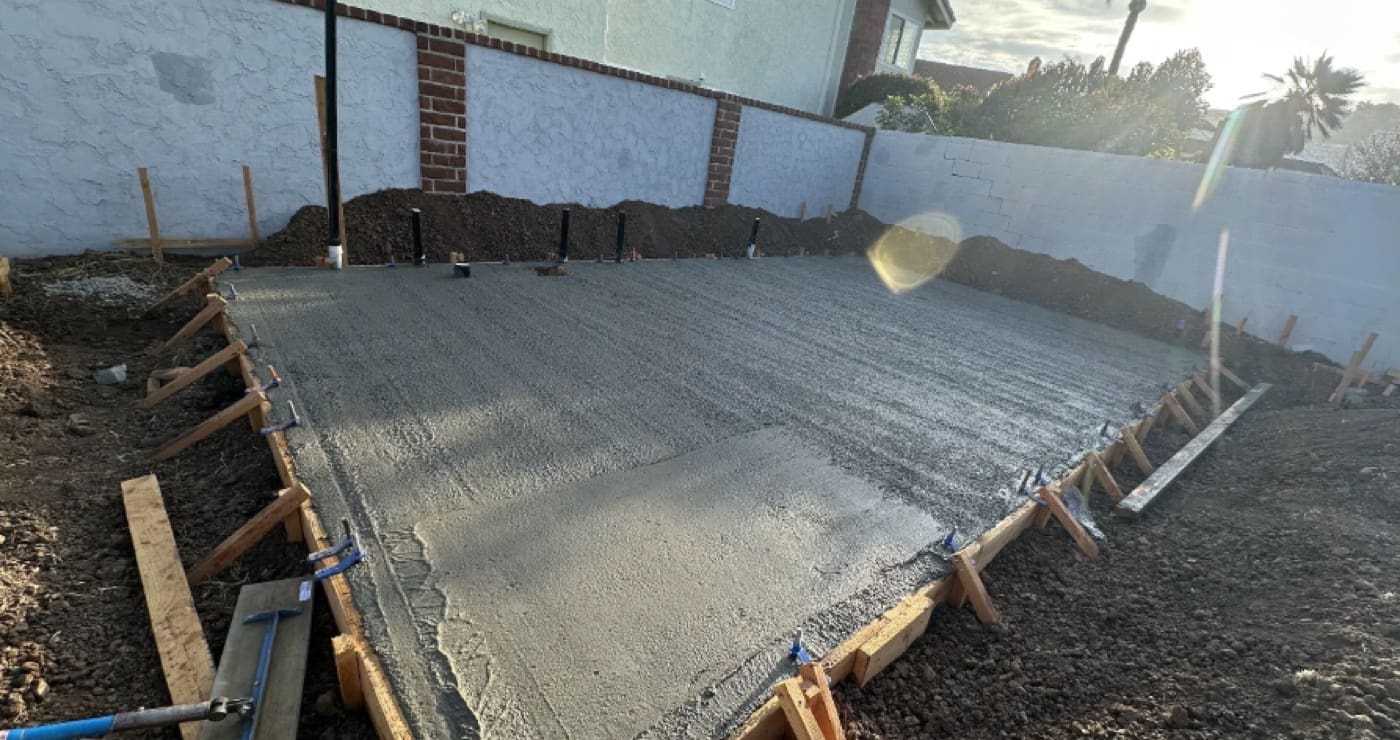
Concrete arrives, and hours matter — the crew places, screeds and floats the surface in one continuous operation while the mix is workable. The perimeter is thickened into footings (that’s why the edges of the excavation step down), and anchor bolts are set into the wet edge so the wall framing can be tied directly to the slab.
04The finished slab
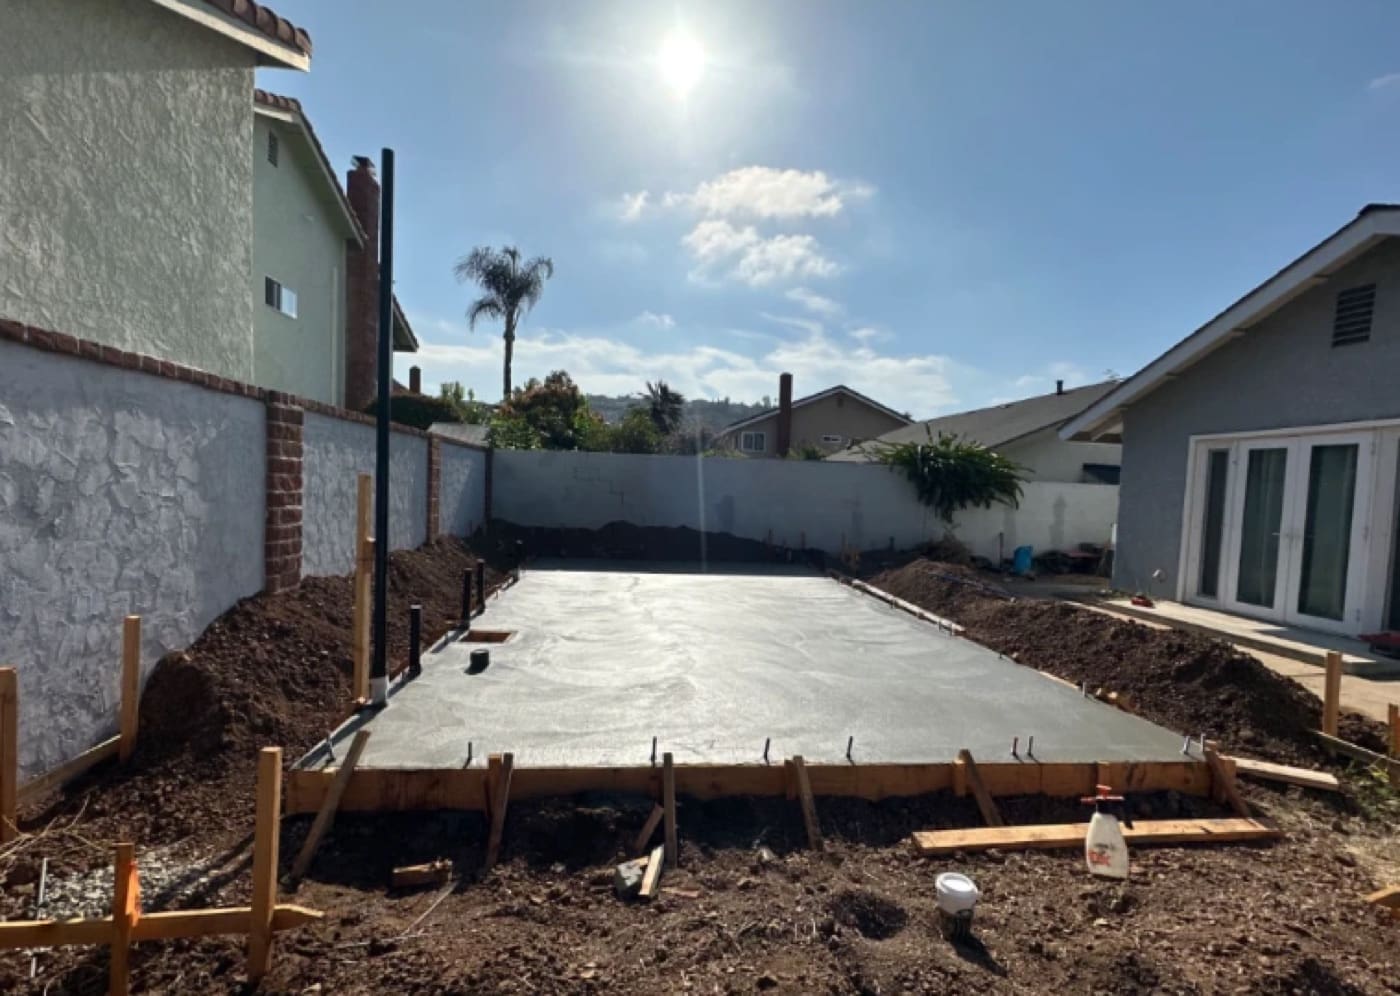
A day later, the backyard has a perfectly flat, level concrete pad with the plumbing standing exactly where the bathrooms and kitchen will be. It cures for days before framing loads it — concrete reaches most of its working strength in the first week and keeps hardening for a month.
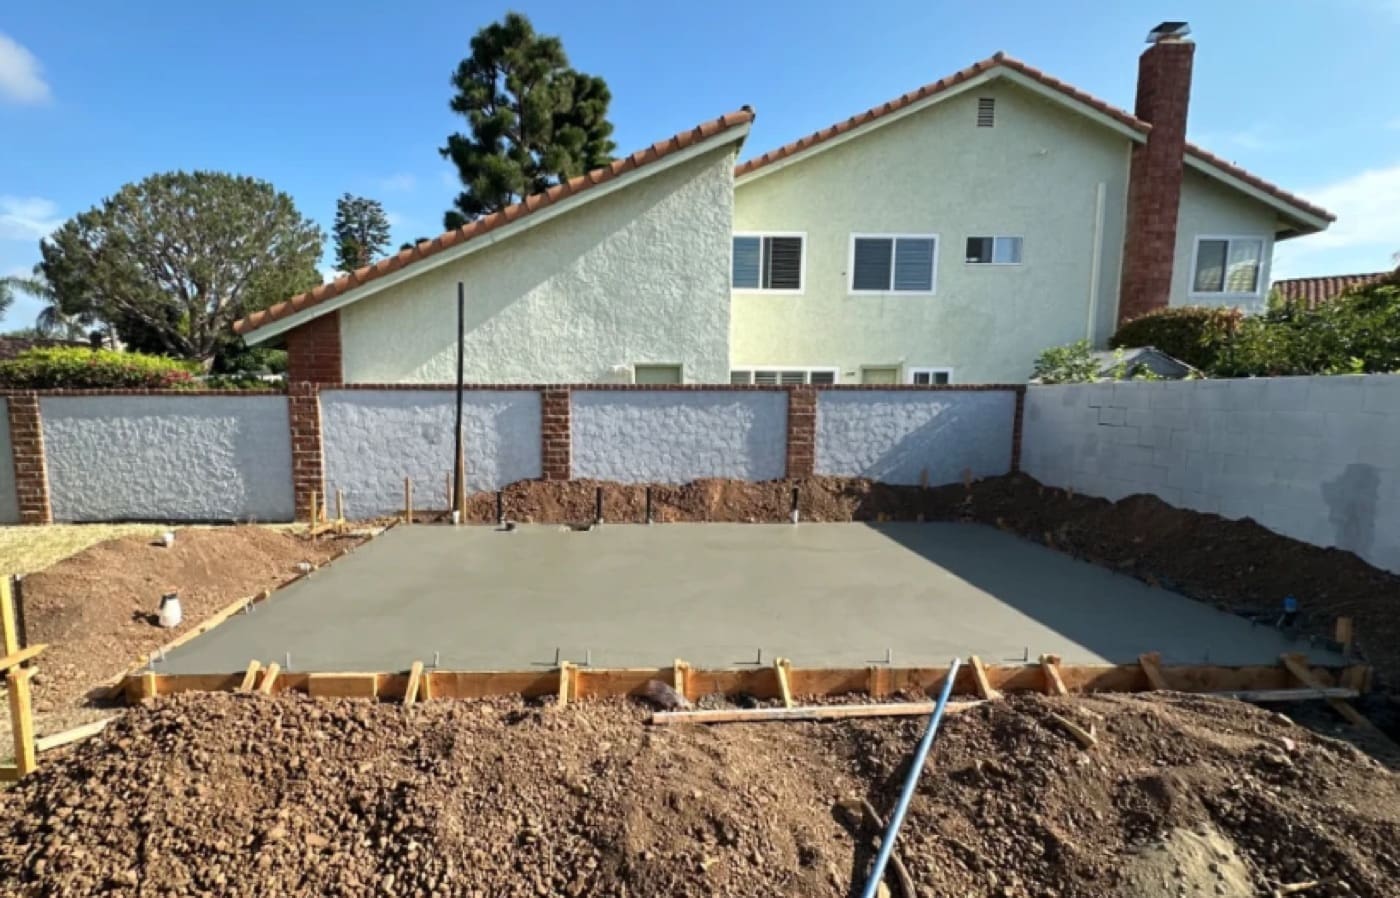
Two things worth noticing in these photos: how tight the slab sits between existing walls and the main house — this is the reality of backyard construction, where site access genuinely shapes cost — and how clean the edges come out of the forms. Straight edges now mean straight walls later.
05What comes next: the frame
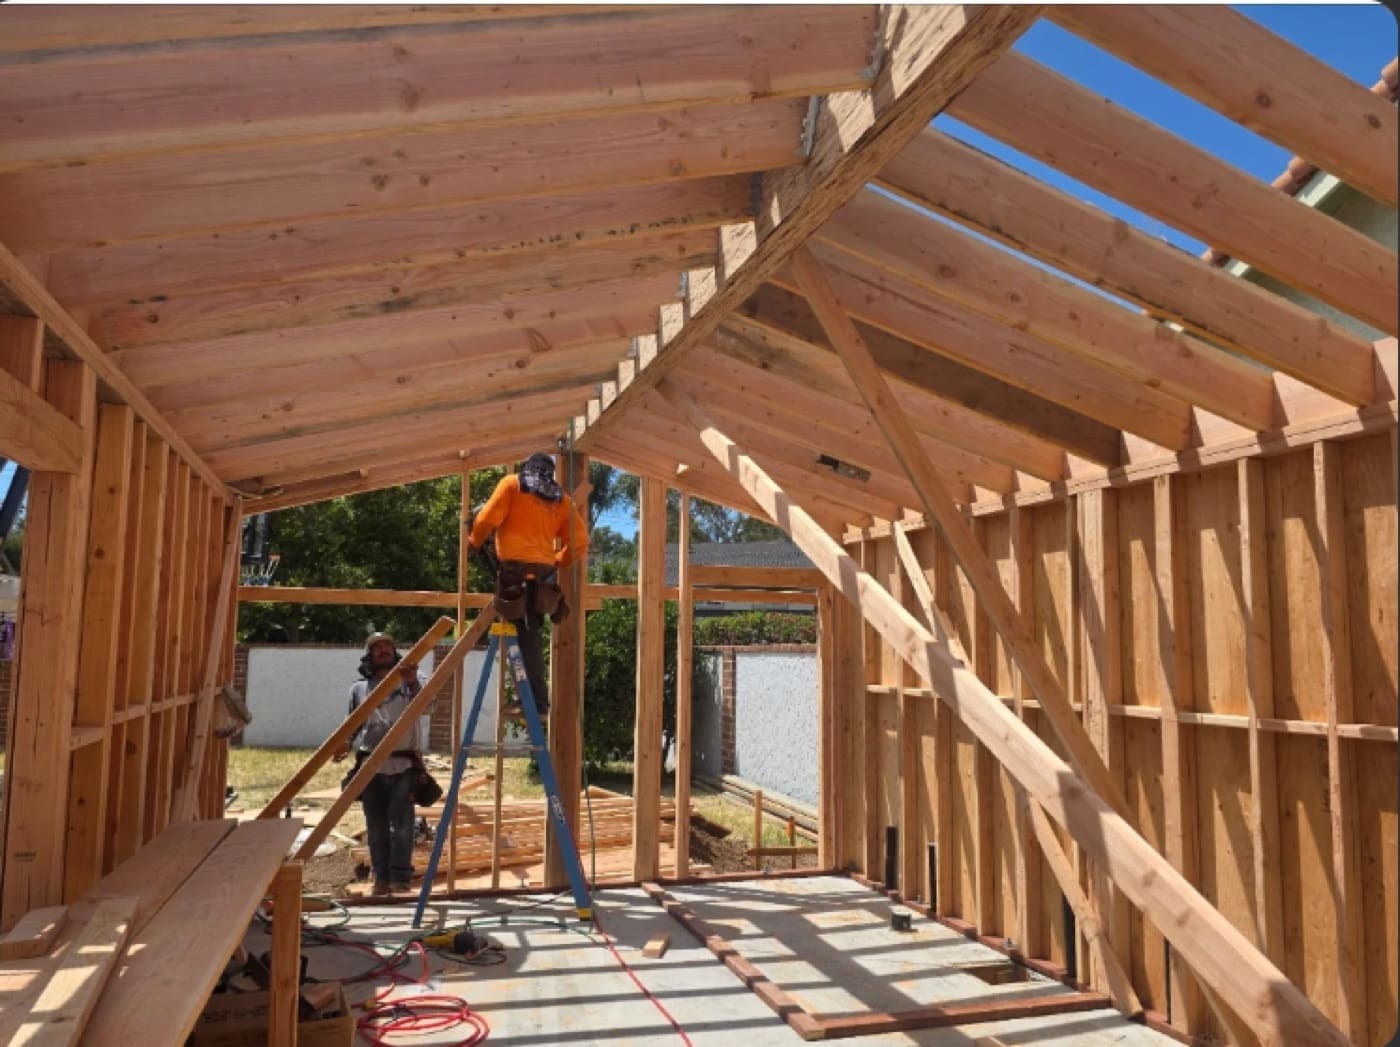
With the slab cured, framing moves fast — walls and roof structure can stand within days. This is the same stage of a sister project: rafters up, the room suddenly real. From here the sequence runs roof, rough utilities in the walls, insulation, drywall, finishes — the visible part of the build. The full schedule, phase by phase, is in our ADU timeline guide.
06Why this matters for your budget
Foundation work is one of the biggest cost differences between ADU types. A new detached build pays for everything on this page — and on sloped or tight-access lots, pays more. A garage conversion hopes to reuse a slab that was never built with these layers: original garage slabs are often thinner, unlevel, and poured without a vapor barrier, which is exactly why slab condition is one of the first things we inspect before quoting a conversion. Ranges for both paths are in the ADU cost guide and its calculator.
Quick answers
What is under an ADU concrete slab?
Why does the plumbing go in before the concrete?
How long does a slab cure before framing starts?
Can a garage conversion reuse the existing slab?
Where this sits in the sequence: the foundation is the first thing built but the last thing decided, because the permit package has to show it before anyone breaks ground, and the utility routing that runs through the slab is fixed at the same moment. For the whole order of operations, the construction checklist walks through what happens before, during and at closeout, and the timeline guide puts real durations against each stage.